You've Been Cooking Rice The Wrong Way...Here's the Right Way
Well, maybe you haven’t been messing up this staple, but I certainly have! I’ve been living with over soggy, long to cook rice that isn’t nearly as satisfying as rice from a delicious Thai restaurant. Finding easy and quick ways to cook foods on a boat has been a really important part of boat life for me…hence this site! Rice is something that goes with anything, tastes good when seasick, and can bulk up soups and stews pretty easily. It stores easily and is found in almost every store!
My absolute favorite kind of rice to provision with on our boat is Organic Jasmati Rice as it is really flavorful and comes in a plastic container that’s easy to stack, easy to pour (read: less chance of rice everywhere), and less likely to break underway than a plastic bag (also causing rice everywhere).
My old recipe was following the directions on the rice packaging which usually says goes something like this: Bring two times the amount of water to dry rice to a boil, add in the rice, and cook for 20 minutes, covered, until the rice is tender. Nope. Don’t do this.

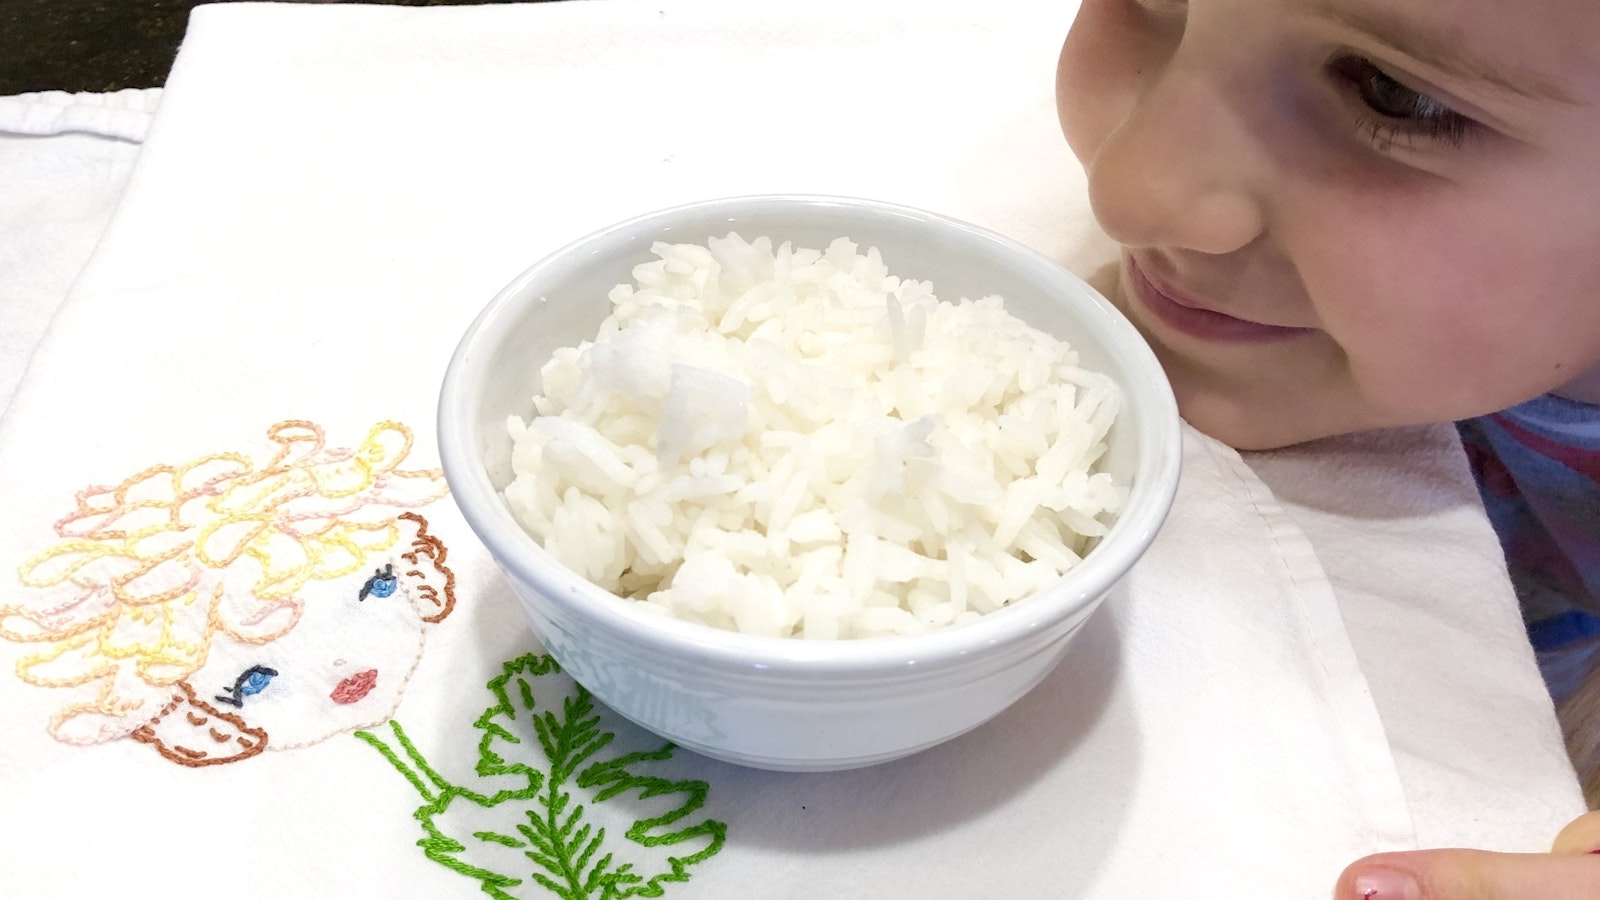
Here’s a better way to cook rice so it’s fluffy, tender, and not too soggy. As an added bonus to better rice outcomes, this recipe uses less water and less cooking time than the aforementioned recipe. Granted, it’s not a ton of water/propane/electricity savings, every little bit helps when you’re relying on a boat’s limited supplies!
Directions:
Use 1.5 times the amount of water to dry rice as your ratio. So if you have 1 cup of dry rice to cook, put it in a pan with 1.5 cups of water. Put the rice and water in a sauce pan and bring to a boil with the cover on. Once it’s boiling, turn the heat to simmer for 10-12 minutes. Times vary here depending on how long it took you to notice that it’s boiling…because, yeah, boat life. After 10-12 minutes have passed, it should look like it’s almost done, with a bit of water still visible but filled with mostly cooked rice. At this point, remove the pan from the heat and let it sit for another 10 minutes with the cover still on (It’s important that you not remove the cover at any point during the cooking process…just like your mother always told you!) After that, you can remove the cover, fluff up the rice, and enjoy! The water should be evenly soaked into the rice and it will be as if it was steamed and not boiled! Yum!
Which method do you use? Is there an even better way that I don’t know of? Let me know!
This recipe is thanks to the wonderful Pam Wall, who is full of great information on sailing and otherwise!
More like this:
[

](/home/2020/9/13/small-batch-bagels)
[

](/home/2020/4/14/easy-chard-salad)
[

](/home/2020/4/21/green-muffins)
[
](/home/2020/4/16/tortillas)